.png)


How do artists create flowing, abstract 3D wall art? It is easy and tons of messy fun! The materials and “batter” recipe below are for one 12 by 12 inch canvas. Increase proportions pro rata for larger projects.
Materials:
• Cradle board, stretched canvas, or canvas board. Seal surface with two gesso coats.
• Fabric. It is best to use 100% natural fibers like cotton or silk. The batter “sticks” to natural fibers better due to their inherent texture. Also natural fibers swell when wet and tighten as they dry, stabilizing the drywall.
• The size and shape of fabric needed varies greatly based on the design. General rule: cut fabric twice as wide and high as the canvas. Fabric weight and weave can vary the body and texture of the art. I used a 24 x 24 inch piece of medium weight cotton bedsheet for my 12 x 12 canvas.
• Drywall Powder – ProForm Quick Set Lite - 20 minute drywall powder. You can use slower drying versions, but you risk fabric sagging before it sets.
• Elmer’s All Purpose Glue – I recommend this specific brand for consistent adhesion. “School”, “washable” or “glitter” glue bonds are too weak. Wood glue works, but is not archival.
• Water – Tap water is fine.
• Equipment: 2 gallon or bigger mixing bucket, three 8 ounce plastic cups, and something to stir the batter. For stirring, I used a hand drill and a paint/mud mixing drill bit. It also helps to use a discarded silicon spatula or sturdy spoon to scrape the bucket corners and sides.
Optional materials that make life easier:
• Plastic table cloth to protect your work surface
• Nitrile gloves
• Thick paper like builder’s floor paper cut a little larger than the project and placed beneath it to move the art easier before it is dry; and a timer to track your work “window” before setting begins.
The Batter Recipe (for 24 in by 24 in fabric)
• 2 ounces of glue mixed with 2 ounces of water
• 2 - 8 ounce of cups of water (you may not need it all)
• 2 – 8 ounce cups of drywall powder
Step 1: Put your canvas on the thick paper. Place the fabric on your canvas and plan your fabric shape.
Step 2: Thoroughly wet the fabric in water and squeeze it out well. Set it aside.
Step 3: Hand mix equal parts of glue with water in a cup. This prevents glue clumps in the drywall batter.
Step 4: Pour one 8 ounce glass of water and glue pre-mix into the bucket. Stir. Refill cup with 8 ounces and set aside.
Step 5: Pour drywall powder into the bucket and stir with drill for about a minute. Add ½ of the remaining water and stir for another minute. Take a sturdy spoon to bring any dry powder on bucket bottom to the surface. Stir another two minutes to get the lumps out. Pause for two minutes then check consistency. Your batter should look like a rich pancake batter, loose but with body. If it needs more water, then add some sparingly and stir for one minute.
Bear in mind that making “batter” is more of an art than a science. The water needed can vary based on humidity, drywall powder type, and how well it is blended. Generally, in 5 minutes the powder is fully hydrated, so it is better to err on less water than too much. After 5 minutes of mixing the batter, set your timer for 20 minutes.
Step 6: Put your fabric in the batter and quickly coat all sides with batter.
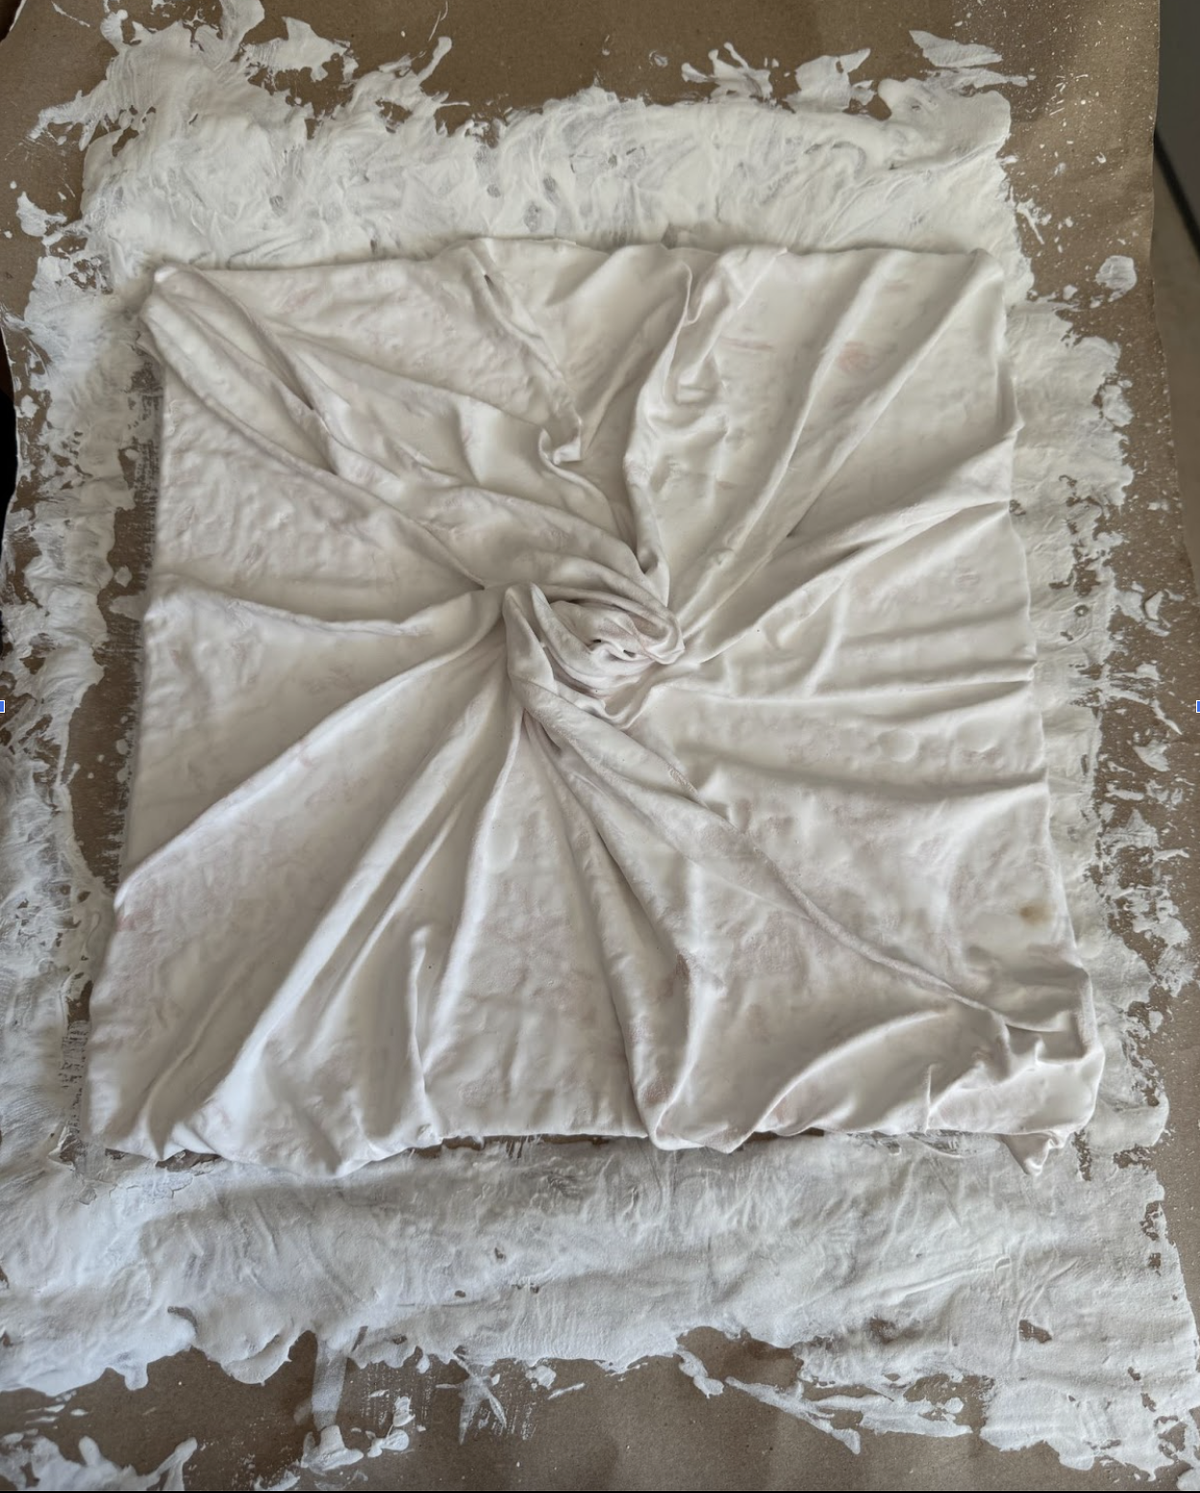
Step 7: Put the battered fabric on the canvas and shape it. PVA glue slows the setting process, so you have 20 minutes to shape. By 30 minutes, typically, the batter starts to set.
• Don’t worry if you can see fabric through the batter. If you follow these instructions, the fabric fibers are saturated with binding agents.
• Use fabric edges within your design or fold them to the canvas back. Cut off excess fabric either before or after drying.
Step 8: Watch it cook. Shiny surfaces will look dull starting in the driest areas. By an hour after mixing the batter, the entire surface will have a matte finish and is firm to a light touch. At this point, you can lift the thick paper and move the canvas.
Step 9: Painting. Wait at least 24 hours (48 hours preferred) so that the densest areas are bone dry. I like using acrylic spray paint as a primer layer. Consider using several thin layers of spray acrylic paint for the nooks and crannies within fabric folds.
You are done!
What an adventure. There are so many possibilities by building on this technique. Experiment and enjoy!
Sabrena Wright is a member of Dripping Springs Art League